
Light Reading
How to Select Downlights
Most lighting problems are glare problems. That’s true of more rooms than anyone in this trade likes to admit. A downlight deserves more thought than a hole in a ceiling usually gets.
Here’s what we look at when we choose them, and what we’d ask you to look at before a package goes out for pricing.
The thing most people get wrong first
You’ve probably read that pot lights are dated, glary, and best avoided. If you have, you weren’t wrong. You were shown one product.
Almost all of that criticism lands on slim lights — the thin, canless discs that sit flush with the ceiling, sometimes sold as slim wafers. The LED sits right at the surface, so when you look up, you look straight at it. Nothing sits between your eye and the source.
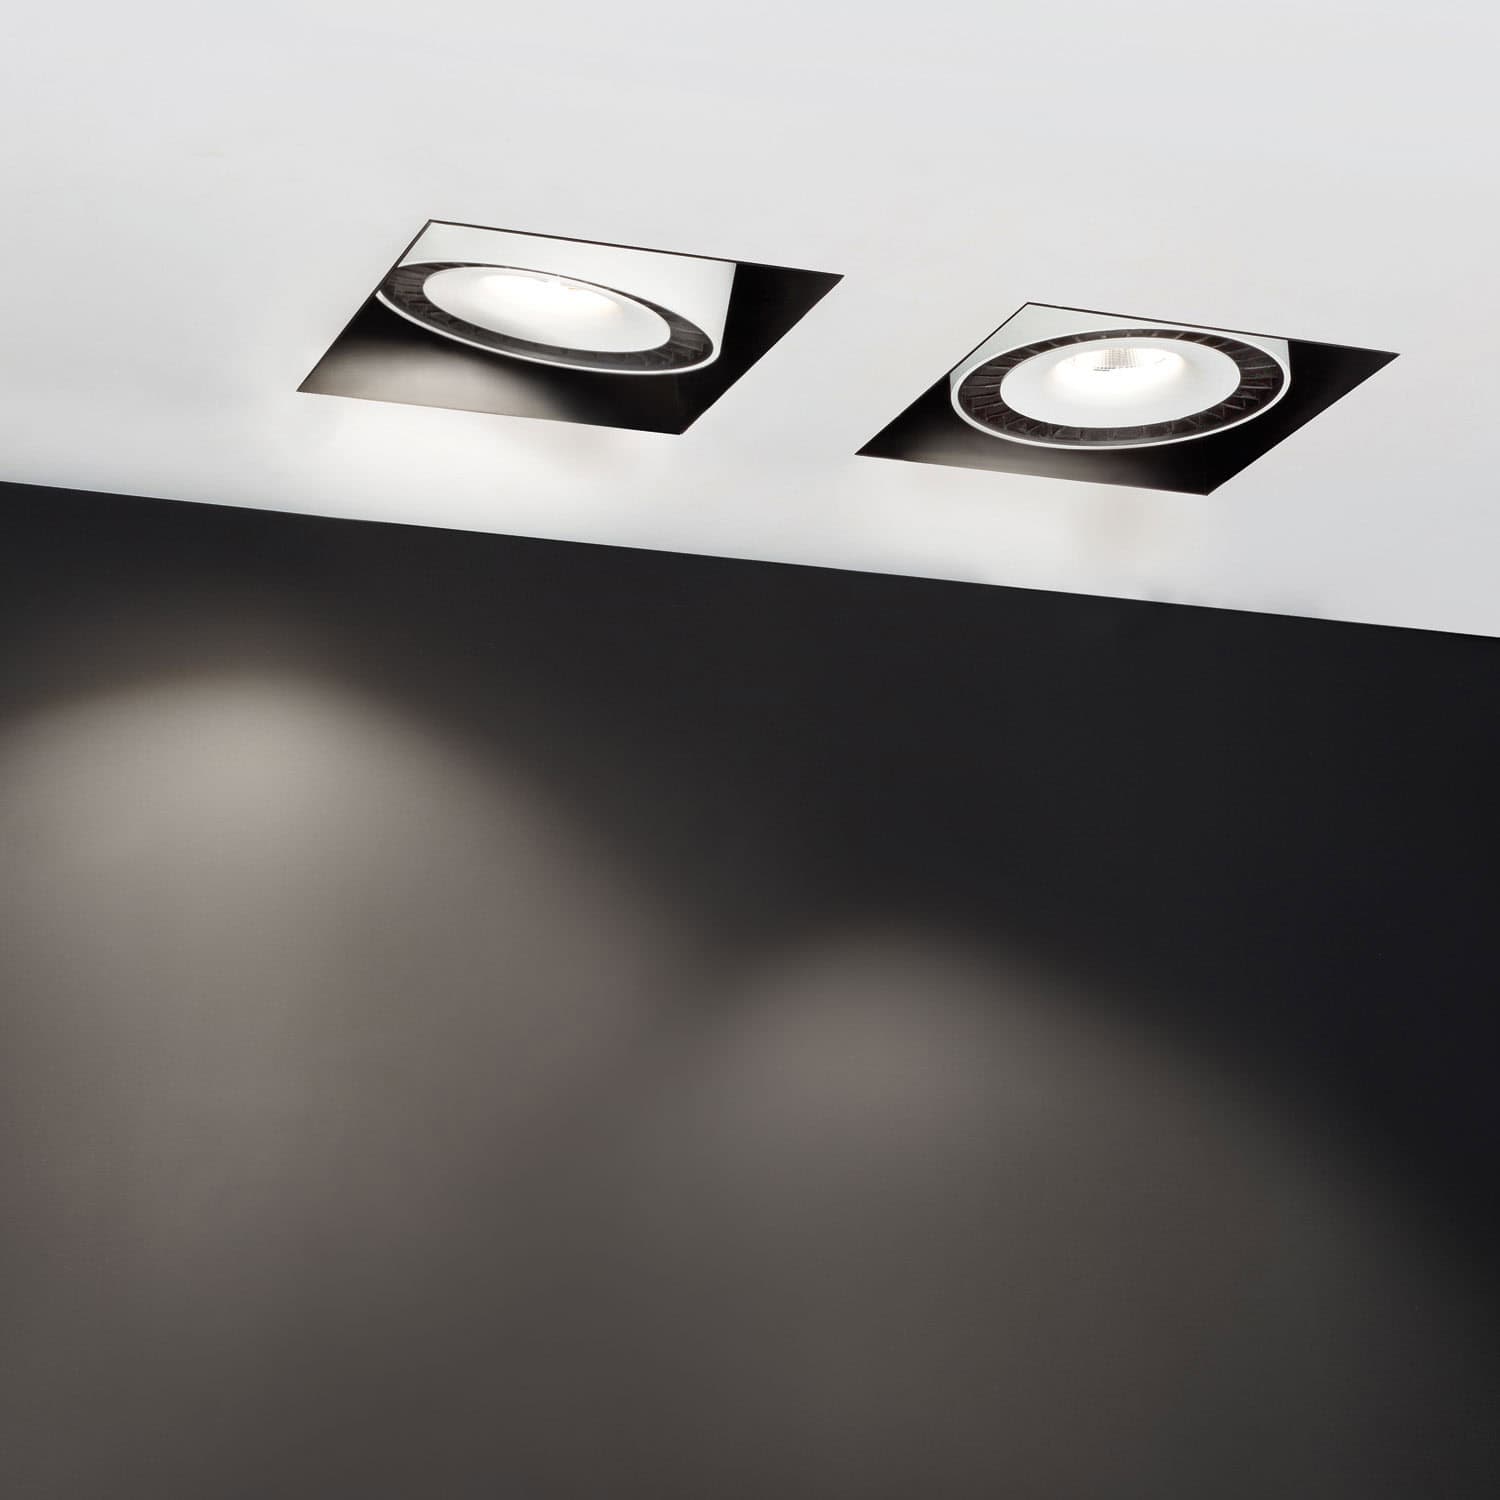
The downlights we specify put the light engine up inside the housing, set back behind the aperture. That one difference in geometry does most of the work. The aperture shields the source, so you see lit ceiling instead of a bright dot, and the beam stays controlled on the way down instead of spilling sideways.
Which brings you to the part that actually shows. A wafer spreads its light, so it takes a lot of them to light a room. A fixture that aims its light takes a few.
Designers who say a ceiling full of pot lights looks like swiss cheese are right, and they’ve misattributed it. The grid isn’t caused by recessed lighting. Twenty fixtures that spread their light are. You don’t hate pot lights. You hate needing twenty of them.
None of this requires an expensive fixture. A Liteline Luna will do it. The difference is where the engine sits, not what it costs.
You also don’t have to take our word for any of it. The showroom has a wall with a slim wafer running beside three better fixtures, lit, side by side. Stand under them and decide for yourself. That comparison settles the argument faster than this paragraph will.
How many, and how far apart
Search for a spacing rule and you’ll find one everywhere: divide the ceiling height by two, keep them no more than about six feet apart, and start no closer than two feet from a wall. On a 9 ft ceiling that puts them roughly four and a half feet apart.
It’s a decent starting point and it’s wrong about as often as it’s right, because it assumes every downlight throws light the same way. They don’t. A narrow fixture and a wide one can look identical in the ceiling and cover completely different amounts of floor. Space them the same and one room is even and the other has dark patches between the pools.
Every fixture has a published number for how wide it actually spreads. That’s the number the rule of thumb is guessing at, and it’s the first thing we look up.
Two other things move the number. Measure down from the ceiling to whatever the light is meant to land on, not to the floor. A desk is about 2 ft 6 in up, so a 9 ft ceiling is really working from about 6 ft 6 in. And the first row is set by the wall rather than the grid: pull it far enough off that the light lands on the wall and not on the baseboard.
The most common thing we see on a drawing set is a downlight grid copied from a previous project into a room with a different ceiling height. Easy to miss on paper. Impossible to miss from the doorway once the fixtures are in.
None of this replaces the calculation. We run the photometrics against your actual room, with your ceiling height, your reflectances and the fixture you are actually considering, and hand back a plan showing where the light lands before anything is ordered.

A lighting calculation, run before anything is installed.
Beam angle: what the light actually covers
Aperture is the hole in the ceiling. Beam angle is the light. It decides whether a fixture grazes a wall, lands on a worktop, or fills a room.
The bands in common use are straightforward:
- Narrow, roughly 15 to 24 degrees — accent. Picks out artwork, a bar back, a feature stone.
- Medium, roughly 25 to 40 degrees — task. Worktops, desks, reception counters.
- Wide, 40 degrees and up — ambient. General cover across a room.
One thing to watch. Manufacturers publish that angle two different ways, one measuring where the beam has faded by half and one where it has nearly run out, and the second number is a lot bigger than the first. If a spread looks surprisingly wide for the fixture, ask which one you’re reading.
Glare, and how to ask about it
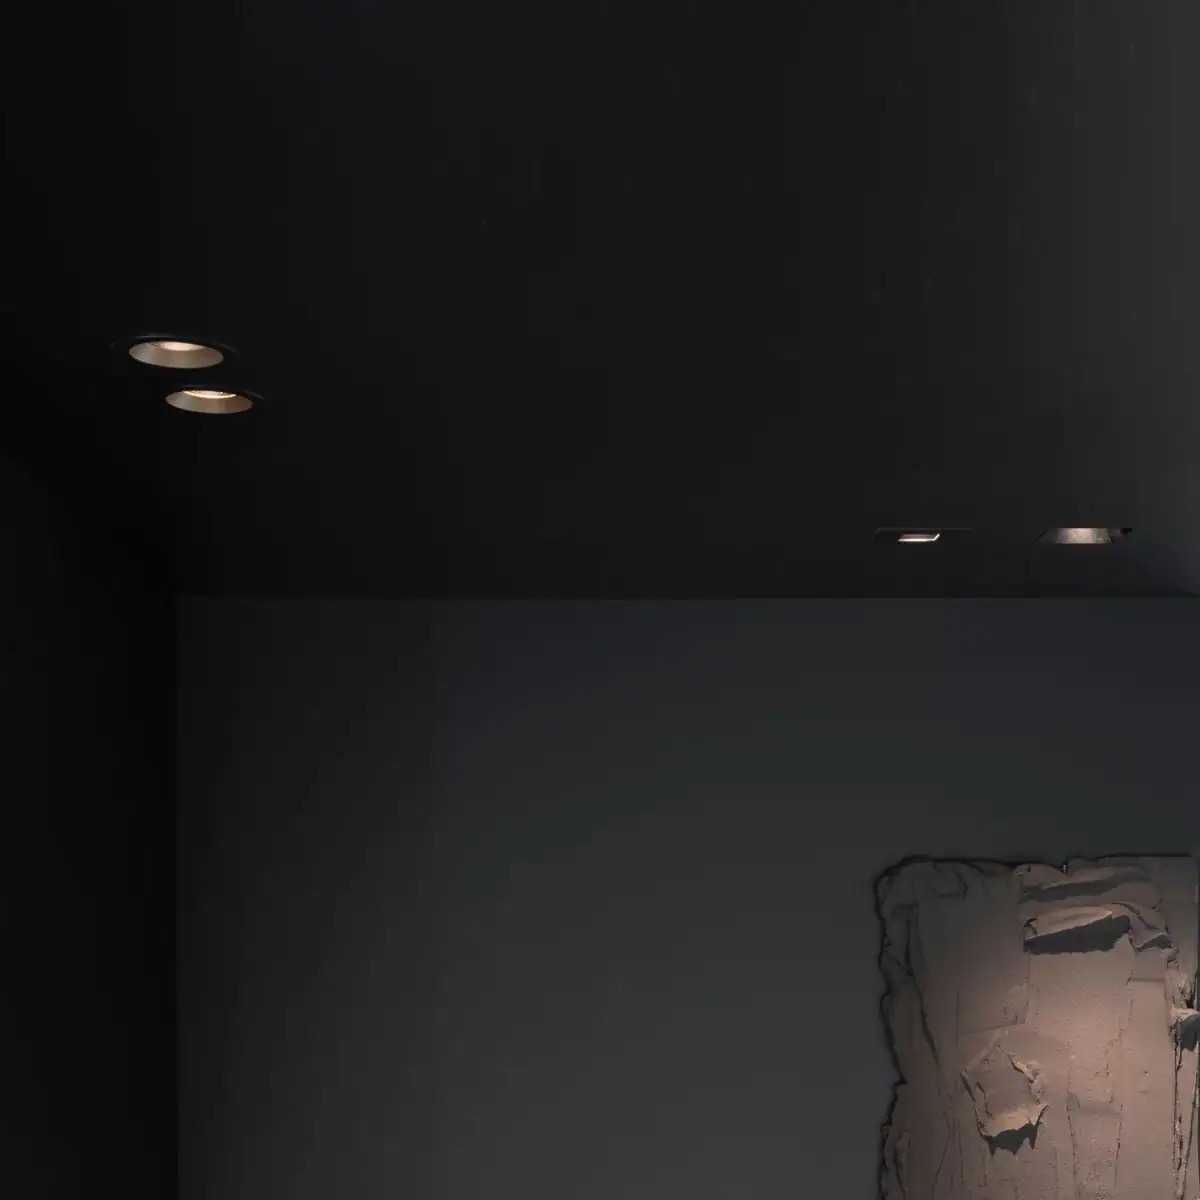
A downlight that fires straight onto its own lens leaves a bright ring at the ceiling. Set the light source further back up the housing and it drops out of your normal line of sight. That’s why two fixtures with the same output can feel completely different to stand under.
There is a rating for this, and it scores how likely a fixture is to cause glare in a given room. Lower is better. You don’t need to memorise the numbers, and you probably won’t be handed them anyway — the rating turns up more often on European products than North American ones, and it’s worked out for a particular room rather than stamped on the fixture like a wattage.
The question is worth more than the number. Ask how deep the light source sits inside the housing, and whether the fixture has been rated for glare at all. Somebody who can answer that has thought about it. Somebody who can’t, hasn’t.
Dimming, and why it flickers
We hear this complaint more than any other after a retrofit, so let’s say it plainly: a downlight that flickers on a dimmer is usually a compatibility problem, not a faulty fixture.
Several causes are possible, and they aren’t equally likely. The driver in the fixture may not be built for smooth low-end dimming. The dimmer and the driver may disagree about leading versus trailing edge. The circuit may sit below the dimmer’s minimum load, which happens easily when LEDs replace incandescent on the same run. Or the fixture itself is simply not a good dimmer.
Test the dimmer first. It costs the least, and it often fixes the problem. Lutron publishes tested compatibility lists for specific fixtures and drivers, which is the practical reason we reach for them: you can check the pairing before you buy it rather than after. We won’t promise you a dimmer swap solves it, because we don’t control the driver, the wiring or the load. We will tell you which pairing has been tested.
Specify the dimming protocol at the same time as the fixture. 0-10V, DALI, phase, forward or reverse. Dimming is the part that usually goes wrong, and it goes wrong the moment somebody substitutes a fixture without checking what it dims with.
Colour: keep it the same, and keep it honest
Put two supposedly identical downlights side by side and you can often see the difference between them. One reads slightly pink, the next slightly green. That happens because LEDs come off the line with small variations, and manufacturers sort them into batches by how close each one lands to the target colour. A tighter batch costs more, because fewer of them qualify.
So pick one colour temperature for the whole space, and ask your supplier to confirm the fixtures are coming from a tight batch. It costs nothing to ask, and it’s the difference between a ceiling that looks deliberate and one that looks patchy. Once they’re in, the only fix is new fixtures.
The other half of colour is how things look underneath the light. A light source can be the right colour and still make everything under it look flat and grey. Reds go brown, wood goes lifeless, skin looks unwell. The measure of that is CRI, short for colour rendering index. It’s a score out of 100 comparing the light to daylight: the higher the number, the closer things look to how they’d look outside.
80 is the ordinary commercial baseline. 90 and up is what you want anywhere the colour of something actually matters — a restaurant, a store, a room with wood or brick or artwork in it, anywhere people are being looked at. The jump from 80 to 90 is not subtle, and it’s the cheapest visible upgrade on most schedules.
If you want the colour temperature question on its own, we wrote about it here: Colour Temperature.
Damp, wet, and which one you need
These two get used as if they mean the same thing, and they don’t. The difference is about what the fixture is actually exposed to, not which room it’s in.
Damp means moisture in the air, or condensation forming on the fixture. A bathroom ceiling outside the shower, a covered porch, a parking garage. Wet means water can actually land on it — dripping, splashing or running down. Inside a shower, anywhere open to the weather, anywhere being hosed down.
The rule of thumb we use: if you find yourself arguing about which one a spot needs, buy the wet-rated one. The price difference is nothing next to opening a ceiling back up.

Fixed, adjustable, or a wall washer
Decide what each fixture is lighting before you decide what it is. A fixed downlight aimed at the floor lights the floor. If the point is a feature wall, a run of art or a stone fireplace, an adjustable head lets you aim it once the finishes are in, and a dedicated wall washer uses an asymmetric optic to spread light evenly up a surface instead of scalloping it.
Mixing the three in one ceiling is normal. What causes trouble is choosing a single fixed type for the whole room and discovering on site that nothing can be pointed at the thing you built the room around.

Why fewer, better fixtures usually wins
Better optics put more of the light where you wanted it, so the same room needs fewer apertures to reach the same level. That means a cleaner ceiling, fewer holes for the electrician to cut, and fewer fixtures to replace later.
The efficiency argument is real but it is not the whole story. LED fixtures don’t burn out, they fade. The published lifespan is the point where the fixture is down to about seventy per cent of the light it started with, which is a prediction rather than a promise. Read it alongside the warranty term and the driver specification, because on most commercial ceilings the driver is what fails first and the labour to reach it costs more than the part.
Where to start
Two questions we get before any of the above, so: yes, we come to site, and yes, the photometric layout is done before you order. What we won’t do is spec a fixture we haven’t seen lit.
Browse the downlights we represent on our interactive line card and filter by “Downlights”.
If you have a room and a ceiling height, that’s enough to start. Send us the plan and we’ll run the numbers.

Common questions
How many downlights do I actually need?
There isn’t a number, and the spacing rules you’ll find online assume every downlight throws light the same way. They don’t. Start from what the room is for and where people will stand, work out what has to be lit, and let the count fall out of that. A room with four downlights placed well beats one with nine placed on a grid.
Are slim lights ever the right answer?
Yes, and it’s worth being straight about when. A slim light is for a ceiling with nothing above it, a retrofit where a housing won’t fit, or a budget that has already been spent. The trade is geometry: the source sits at the ceiling plane instead of set back inside a housing, so you see it from more of the room. Where that matters, buy the depth.
Why do my downlights flicker when I dim them?
Most often it’s the dimmer, or the way the dimmer and the fixture’s driver get along. A better dimmer fixes it frequently enough to be the first thing worth trying. It isn’t the only cause, though, so if a new dimmer doesn’t settle it, the fixture or the load on the circuit is the next place to look.
How do I stop the ceiling looking patchy?
Pick one colour temperature for the whole space and ask your supplier to confirm the fixtures are coming from a tight batch. It costs nothing to ask, and once they’re in, the only fix is new fixtures.
Keep reading
- Colour Temperature — Kelvin, colour rendering, and why one batch of fixtures can look different from the next.
- Lighting Certification in Canada — what LC, CSA, cUL and DLC each actually cover.
Don’t miss out on Flux updates, promos and other news. Sign up for our newsletter here.